Section 1 – Before You Get There.
First thing’s first, you’ve found a client who want’s a photographer – you need to get a brief from them and decide upon the price you’re going to charge. Give them a price – don’t ask for a budget. Explain exactly what it is you do and how you can contribute to their team. A little tip from my own experience is that the more you charge, the more likely they are to hire you. This sound’s a bit ridiculous but, so long as you’re going after the right sort of cliental, they’ll be reassured by the price (so long as you have a strong portfolio to back it up with). Corporate clients with money to pay for a photographer have the budget to pay for a proper one. Once you’ve agreed on a price, get it in writing and agree to the terms that you’re after. A written contract that you can write up yourself is perfectly acceptable, just make sure that all the points you want to include are clearly explained. Here’s a list of the things I like to include:
Clearly explain your day rate, the times you will be working from and what you’ll be doing in that time.
I’ve had speakers at events ask for head-shots when I’ve got a spare 5 minutes. Lay down in your contract that this sort of thing is not included in the price but that you’re happy to take the photos later in the day with an additional fee per photo. People respect and understand these things so long as you lay them out beforehand.
If you’re away from home, make sure that you are put up in the same hotel that everyone else is staying in so that you’re close to the location. They will have a corporate rate with people in charge of booking it for you. Don’t put it on your own card – get them to pay for it.
Being away from home you won’t be able to cook for yourself. Include a meal allowance for lunch and dinner (ensure that the hotel includes breakfast) and if you go out for dinner with the rest of the staff, make sure you only charge for a lunch allowance.
I like to be very frank with money and I think that clients respect that.
In the contract ask for a 50% deposit as confirmation – if they’re serious, this shouldn’t be a problem; if they don’t want to pay you that, you don’t want to work for them. If you haven’t received the deposit by the time you’ve arrived at the event, refuse to take any photos until you’ve received it. This is a business after all.
After that, a very important term to include is that they have to give at least 1 week’s notice if they wish to cancel your services.
You should have 50% of the money by this point which is yours to keep if they cancel before the event. If it’s within a week, it’s unrealistic for them to expect you to find more work and they have to pay you the balance. I’ve turned up to events in the past at which something had happened to their main speaker; they only needed me for 1 day rather than the 3 they had booked me for. I tackled this head on and told them that I would be expecting full pay still, and they accepted that. One of the people I said that to actually came up to me afterwards and told me that they were impressed by it. There’s nothing worse than getting out of the room and feeling like it’s too late to talk about money. Finally, before you leave for the event, pack your bag. You should have a good idea of the type of room you’ll be staying in so this shouldn’t be too hard, just make sure you come prepared. I always bring spares: camera, lenses, batteries, memory cards, hard drives. This is very important; it would be unprofessional and reputation-damaging not to be able to finish the job. At corporate events they often want group shots taken so I recommend bringing along a tripod. This will allow you to compose a shot in a room during a break, mark it, and come back to it when it’s time to take the photo.
Section 2 – Before you Start the Event
I always have a list of questions that I’ve thought up in the time building up to the event that I bring along to my first meeting with the rest of the team. This shows that I’ve been thinking about it and have come prepared. This is a quick and efficient method that allows you and the others to get on with any work that needs doing before the event starts. Here’s the list of questions that I asked before the beginning of my last event:
Where can I work from during the event? Where can I store my gear when I’m not with it? Is there Wi-Fi access? What’s the final number of people attending? What time does each day finish? (1 day was finishing early). Do you need me to make an Animoto video for the event? My hotel bill is currently being charged to my card, can you please change this? What operating system is their main computer? (This affects the format of the hard drive I use). Is there going to be a group photo and if so, when? Are there going to be photos with the main speaker and guests again? Do you mind me leaving my portfolio on a table at the back again?
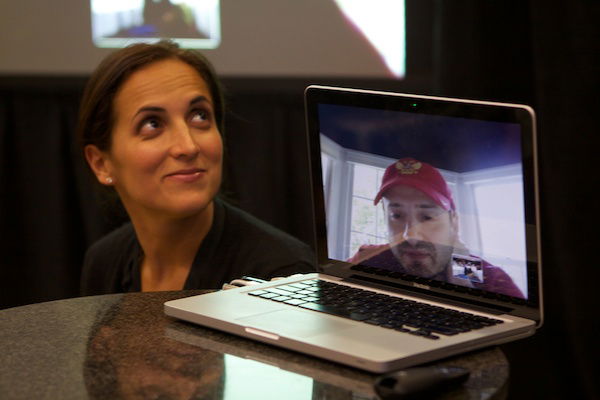
As you can see, these are all relevant points that you should be thinking about that I would probably forget to ask if I didn’t write them down. I’m going to take a closer look at those first 2 questions now, as these are the most important. There will be an area in which the team of staff works during an event and it’s important that you have a table around them. This is because the area that they’re working from is likely to have everything you need as well, such as security, power, internet access etc. One thing I bring along to every event like this is a laptop lock; this wraps around something secure and locks into the side of your laptop. My laptop may not be the most expensive thing I have on me but it’s certainly one less thing to worry about.
Section 3 – During the Event
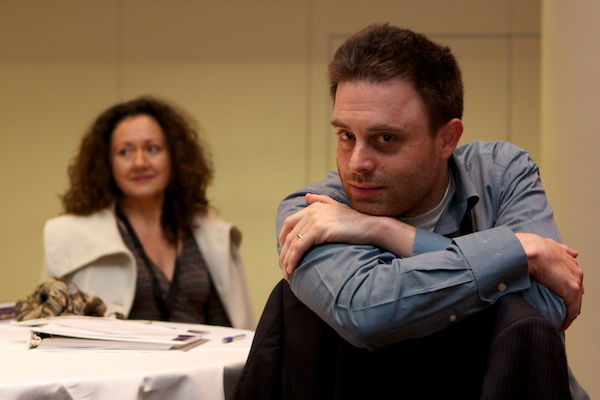
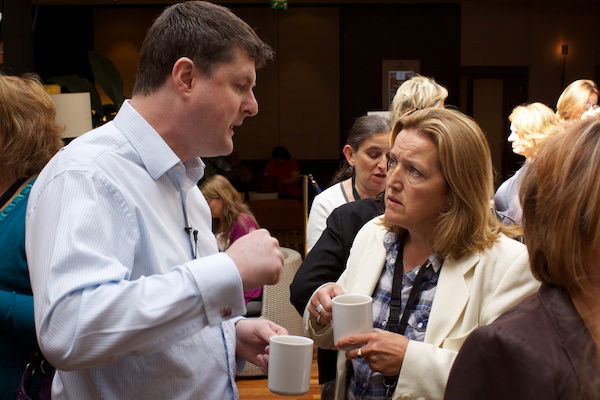
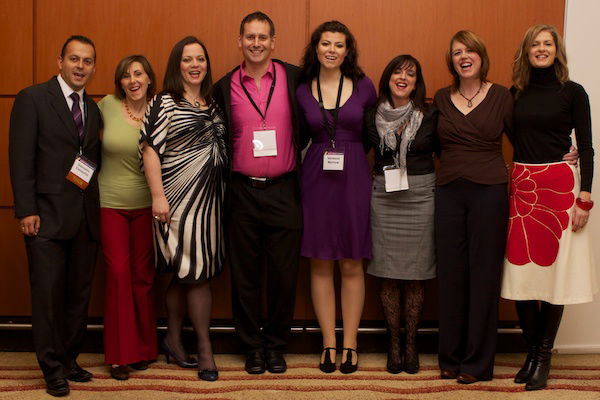
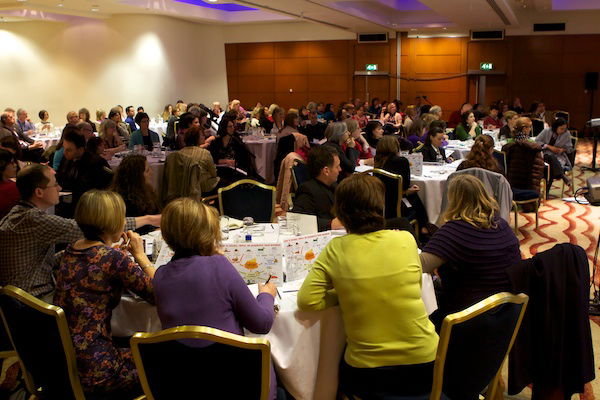
The most important things to capture are the key moments at an event; every time someone comes on to the stage; during particular exercises; if someone is having a breakthrough moment etc. It’s OK to be at the back of the room going through the photos, just makes sure that you’re paying attention to whatever is happening on stage. A good team of staff will give you notice of anything in particular that they want captured – another reason to work in the same area as them. On the first day, before anyone comes into the room, I make sure that I’ve been in to see what the lighting is going to be like. You may or may not be allowed to use flash so bear this mind when you’re looking at the room. Some clients request no flash but this simply isn’t an option if they want quality photos – make sure they’re aware of this, you have a say too. Once I’m happy with a standard ‘go to’ setting for a room, I save it under a custom mode in my camera. To do this, have the camera set up as you want it on ‘manual’, go into the camera settings and register the settings to a particular custom mode. It’s pretty easy to do on most cameras – Google it if you’re unsure. As part of the staff, it’s best to go as unnoticed as possible at an event – here are a few tips: First, move slowly. Running around a room really makes you stand out, especially if you’re passing through tables. Just remember that you’re not going to be in anyone’s way for too long. When photographing people candidly (which is my preferred style as it won’t distract anyone from the main event and produces more natural results) it’s important not to use flash at all where possible. This will result in some really nice, soft, shallow photos that work well. As a general rule, keep your use of flash to a bear minimum. It’s important to blend into your surroundings; find out what sort of event it’s going to be and dress appropriately. A lot of the time the people attending are dressed casually, so I just throw on a shirt but, on occasion, I’ll wear a suit. It doesn’t really bother me, it’s just important to know beforehand. A lot of the events I end up doing are motivational business events and people can get emotional at times. In one particular brief, I was asked to capture these moments, which I didn’t really have a problem with – just be careful as you don’t want to be too intrusive. This is definitely a flash off moment! The client will be expecting the photos at the end of the event so it’s vital to do your best to get them right in the camera. This will minimise processing time, allowing you to process as you go. This is one of the reasons I use multiple memory cards – I can let one card transfer the photos while I’m off shooting on another card. Remember, the client isn’t looking for art, they want photos that capture and sum up their events. Leave photoshop out of it. Your workflow is very important at an event like this. I’ve really got mine nailed at the moment: When I import the photos, they all go into Aperture and are renamed to the match the event with a date. At the same time, they get backed up onto an external hard drive so, even if I delete some, they’ll still be accessible. I give each photo a rating for 3/5 (any photo’s I deem not good enough, I demote to a rating of 2) and assign relevant key words. From this, I can make smart albums consisting only of photos tagged with specific keywords and a high enough ranking. More info on how to export these properly in section 4. Types of shot’s you’ll need to get:
Main speaker shot
Guest speaker shot
Group photo
Speaker and Guest photo
Guests on stage
Emotional breakthroughs
Candid Shot
Candid Interaction Shot
Staff Photos
Reception Photos
Fun shots
Key moments
General promo shots
Section 4 – Post Event
This a great time to be networking; take a few more photos of people leaving and hand out some business cards. Make sure you’re representing your business well with good quality business cards; none of the cheap stuff you get for free from Vistaprint. It pays to make a good first impression. One thing to be careful of is that you’re not trying to publicly sell yourself at an event as the client will not be happy with this. Simply hand them a good business card, say a couple of words and move on. When I come to the end of an event, I export all the files onto an external hard drive and hand that hard drive to the client. This is a very important step as the client gets exactly what they want immediately: it’s easily shared with others and doesn’t take up space on their own hard drive. I invoice for the cost of the hard drive but that’s only about £20, which is nothing compared to how much it helps.
Section 5 – Finishing the Job
Ok, so you’ve followed the advice above and everything went smoothly. Now it’s time to say your goodbyes, get home and send them your invoice. Make sure you’re polite and exchange business cards with everyone as you never know when they may want you in the future. Once I’m home I like to send my invoice as soon as possible so that they’re not waiting around for it and I’m not waiting around for the money. Make sure that there are no hidden costs in your invoice as this is one thing that would certainly stop them from wanting to hire you in the future. When I send off my email, I like to include a small personal note, just to end on a positive and help them to remember me in the future.

