With the right settings, you’ll be able to capture the magic of the season in all its glory.
Camera Settings For Christmas Lights: How to Set Up Your Camera
1. Use a Slow Shutter Speed
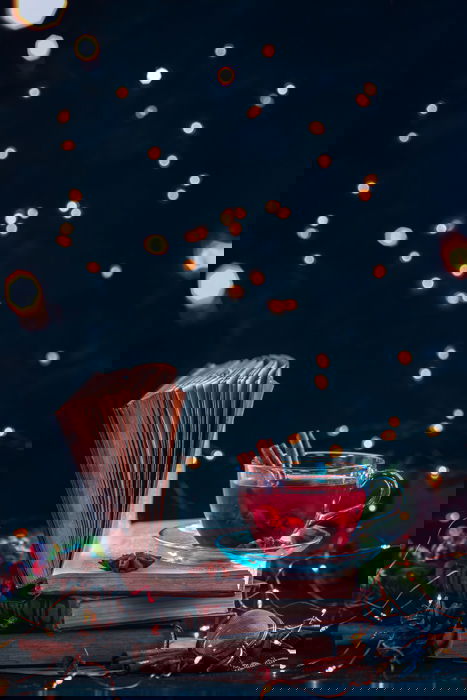
Christmas lights are beautiful, but not very powerful. Our eyes adapt to a dim light rather quickly, so we can see the scene almost as normal. But cameras aren’t that sophisticated. We need a relatively slow shutter speed to make the glow visible. The exact number depends on many factors. Things like the brightness of your particular lights compared to the ambient lighting. But I can recommend starting with a shutter speed of 1/4 s and going down from there. Take a test shot and see if you like the result. If the lights don’t look bright enough, set the shutter speed to 2 full seconds or even slower. In the three images above, you can see the difference that a slow shutter speed makes. Because of the slower shutter speed, the camera takes in more light, making the Christmas lights brighter. Don’t get carried away, though. If you set too long of a shutter speed, you’ll see an overexposed picture drowning in warm light.
2. Get a Tripod
Slow shutter speeds capture holiday lights in their full glory. But they also leave your photo vulnerable to motion blur. A clumsy gesture or a falling prop in the frame can cause motion blur. To minimize the risk of blur, be careful not to move the items of your composition during exposure. And it’s best to use a tripod.
I recommend shooting with a tripod every single time you take a photo. (Of course, I’m talking about still-life photography.) Using a tripod allows you to focus on the fine details of your composition. For Christmas lights and fairy lights, using a tripod is necessary. And adding a remote control is also useful. Shooting handheld compromises the image quality too much. If you don’t have a tripod, place the camera on a steady surface and use the camera’s self-timer. That will get rid of camera shake from pressing the shutter release.
3. Shoot With Low ISO to Avoid Grain
High ISO produces digital grain if you don’t have an ISO invariant camera body. I usually shoot with artificial lighting I set purposefully. So most of the time, I use the lowest ISO possible. In cases where you can’t control the ambient light, a higher ISO can be useful. Start with an ISO of around 100. That should be enough to overcome the problems of the dark environment. And increase your ISO from there, if necessary.
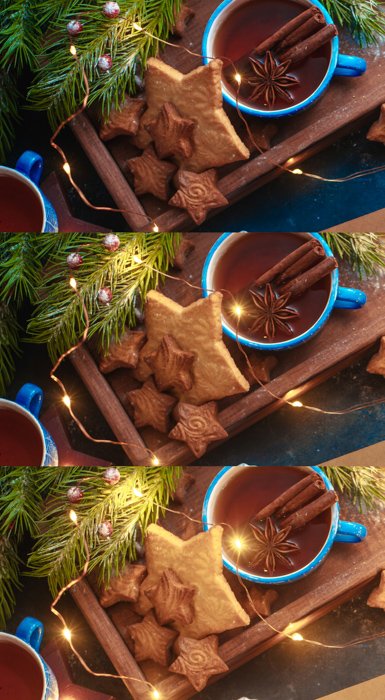
My settings for shooting the image above were the following:
Shutter Speed: 1/6 s Aperture: f/5.6 ISO: 125
If you need more light, I would suggest increasing the exposure time first. Raising the ISO should be your last resort.
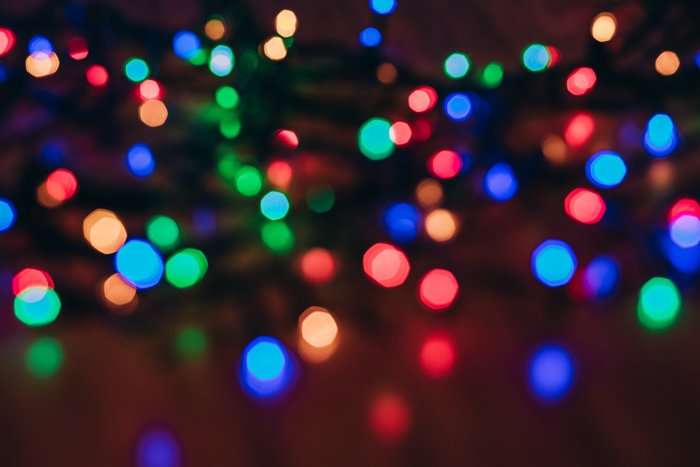
4. Create Bokeh with Shallow Depth of Field
You might want to create warm, dreamy holiday photography. To include a beautiful bokeh of blurred lights, you will need a wide-open aperture more often than not. It creates a very shallow depth of field that throws your background out of focus. It also turns your Christmas lights into little balls of glowing warmth. You can make the bokeh flares even bigger and blurrier. You do this by increasing the distance between your subject and the lights. You also need to have an aperture around or below f/4 to get a decent bokeh in your images.
5. Don’t Use an On-Camera Flash
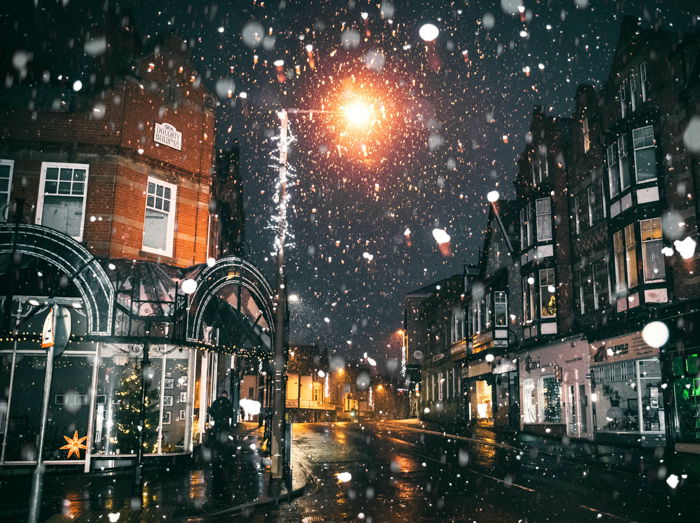
First of all, forget the flash that’s built into your camera. This is a general photography tip, to be honest. In most cases, frontal light looks flat and unappealing. And when you’re trying to capture something as magical as Christmas lights, it’s even worse. If you’re trying to capture holiday lights outside, you’re probably far from your subject. The camera flash isn’t going to contribute much to the exposure. If you’re shooting indoors, a camera flash tends to be too powerful. You may end up with an overexposed image. It overpowers all ambient light. And the resulting picture lacks a warm and cozy atmosphere. A camera flash can also interfere with the colors of Christmas tree lights. Sometimes this brings an unpleasant blue tinge.
Inspirational Christmas Lights Photo Ideas
There are many ways to incorporate Christmas lights into your picture. They can serve as decoration, background, or even a primary lighting source. Here we collected some photo ideas that you can use your holiday lights for.
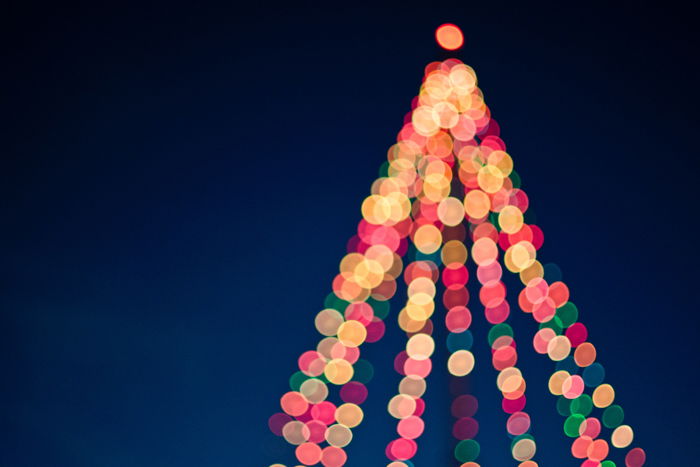
Create Bokeh Lights On The Christmas Tree
There is no better way to capture the magic of the Christmas tree than covering it with lights and showing its shape with gorgeous bokeh. Use manual focus to blur the tree and let your lens create bokeh from the tiny lights.
Take a Closeup Photo of Christmas Ornaments
You can make use of the lights when taking photos of Christmas decorations on the tree. The closer you get to the subject and the wider aperture you use, the nicer the bokeh in the background will be.
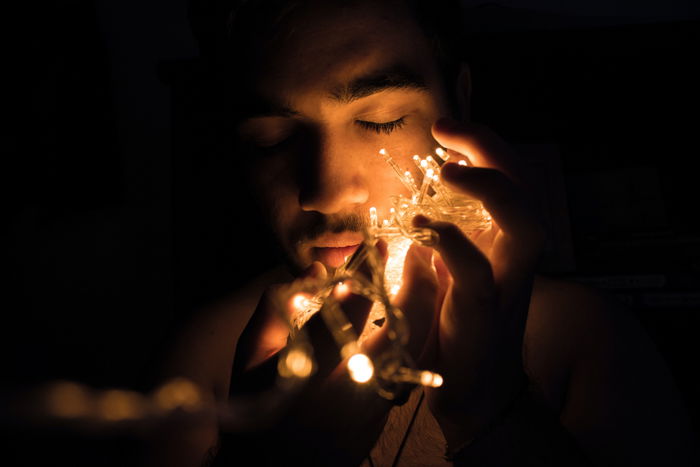
Light Portraits with Christmas Lights
To add an extra level of creativity to your Christmas photos, try taking portraits with Christmas lights as the main light source. Make sure to use spot metering and meter the light based on the lights. This way, they will not be blown out. You will get attractive low-key lighting on the person’s face.
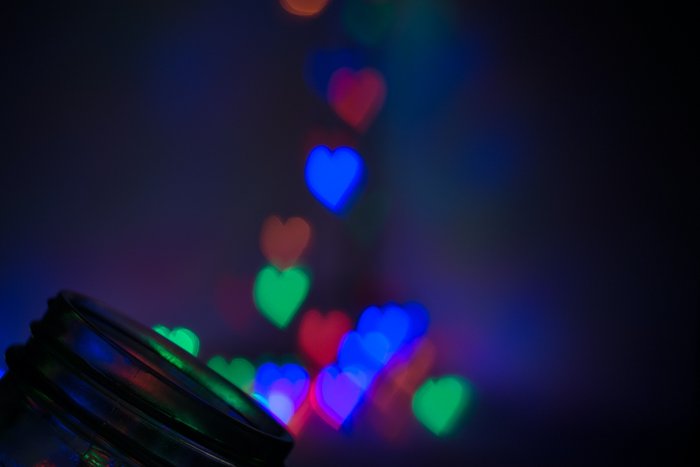
Create Shaped Bokeh
Bokeh can appear in different shapes (hexagons, octagons, etc.). This depends on the number of aperture blades in your lens. You can easily make custom bokeh shapes for your own photos. Just make a fake lens hood out of black paper and cut out the small shape you want in the center. Keep the shapes between 5 and 20mm. Set your camera to its lowest aperture value and enjoy the results of your custom bokeh filter.
Conclusion
Christmas lights come in handy when taking Christmas photos. They are easy to find, cheap, and create a truly beautiful atmosphere in every image. We hope that this article has shown you what to pay attention to when setting up your camera for photographing lights. Now it’s time to think of new Christmas stories and capture this magical feeling in other still-life shots. We wish you the most wonderful Christmas photos this holiday season!